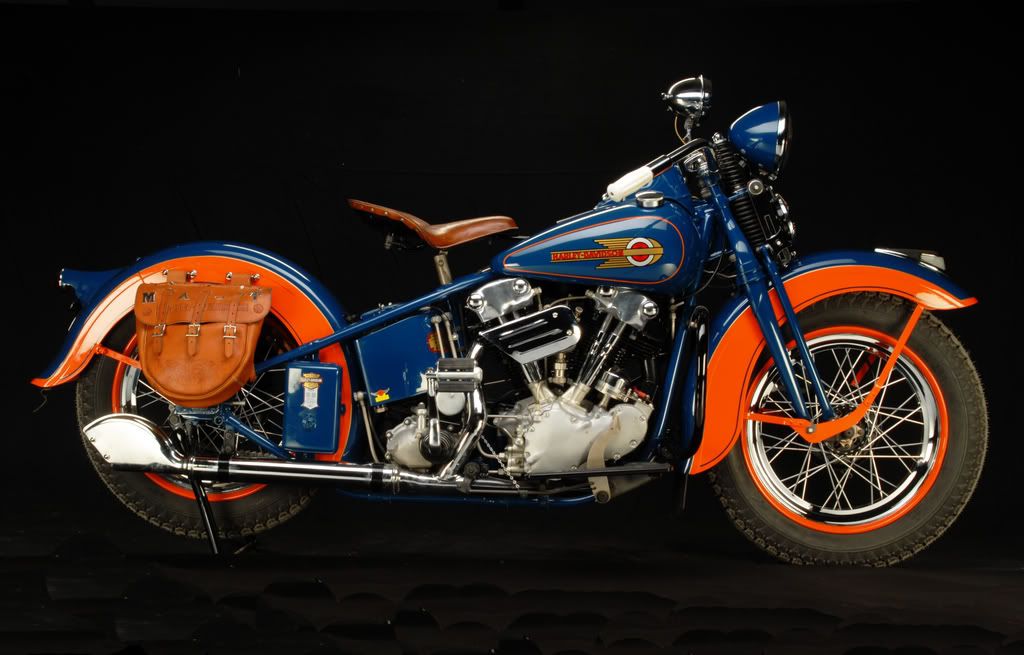
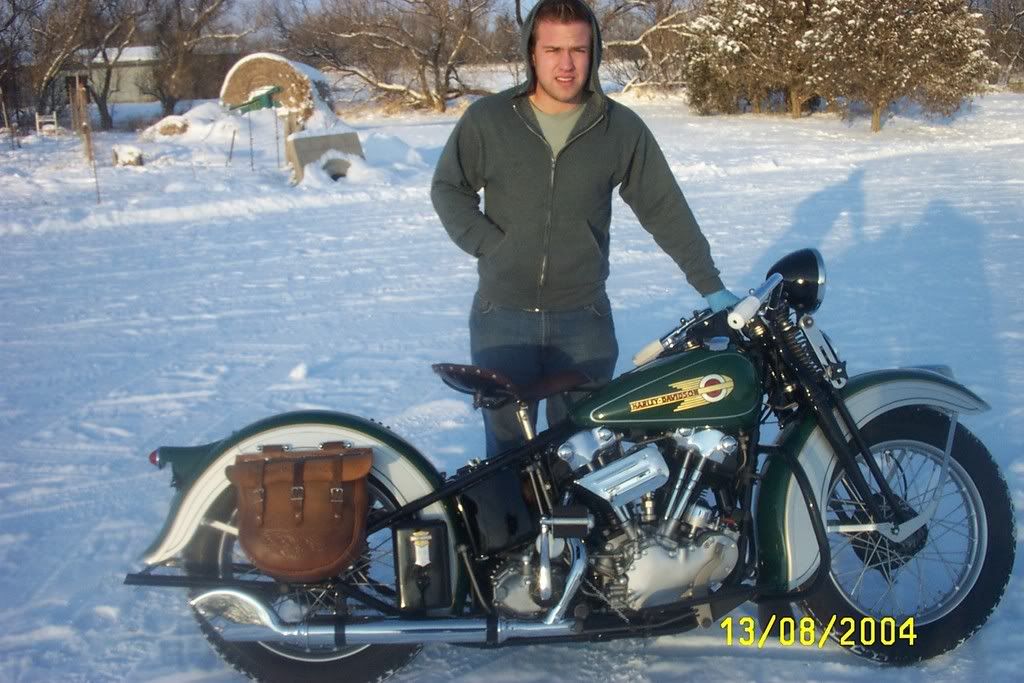
I am heading out for daytona today with my good friend Brian Klock. I have some fun stuff planned for the AMCA and the limpnickie lot. I am having a kickstart and handshift demo on wednesday and a linkert carb class on Friday. My dad is letting me take his 39 el for a demo bike, and the president of the amca is bringing his chief, major props to these guys for letting complete strangers start and shif their bikes. These guys are true enthusiasts. I hope that I get a good response, and people enjoy this project.
Wednesday, February 25, 2009
Monday, February 23, 2009
cut down floorboards
Sunday, February 22, 2009
finished 46 exhaust
Here is a pic of the finished product, They are nice and clean, all of the brackets are pretty well hidden.
Here is the straight on shot, this is the first exhaust that I have ever made. I just used pieces from old drag pipes that my dad has had around the shop for a long time. I think that it turned out really nice, it took a lot of time.
Here is the bracket that I made for the top pipe, it is 3/16 thick, and drilled and tapped for a 5/16-24 bolt.
Here is the mount before I welded it to the pipe. The spacer goes through the top hole for the sidecar mount in the axle stay. It is shoulder is .750 and .150 long. The main section's diameter that goes through the hole is .585 and 1.000 long. It has a .315 hole that goes through the center of it. This is a good set up, and I will probably use it again.
Saturday, February 21, 2009
2008 sturgis magazine handout
Last year, the city of sturgis interviewed a bunch of motorcycle businesses. They interviewed me on behalf of our shop. It was pretty neat to be included in it. My favorite part, is when they asked me what I would be doing if I didn't work on motorcycles. I said "I haven't really thought about it, I don't know how to do anything else, so I better make this work"
39 all cleaned up
I got the fenders switched out, and the rest of the bike cleaned up today. Man this thing is amazing. I remember when we were first restoring this bike, it seemed like the most important thing in my life. It was all I thought about. The bike has over 16000 miles on it now, and is a great running and riding bike. I am taking it to daytona next week, should be fun,
painting emblems
I painted a bunch of letters and spears in emblems yesterday. This is very difficult and time consuming, It takes me about 45 minutes to do the letters on each emblem. I use a coligraphy pen. The trick seems to be to put little dots of paint in and push the paint against the stamped in lines that make the letters. this means that you have to rotate the emblem a lot, so that you are always pushing the paint into a nook or cranny.
Friday, February 20, 2009
I hated cleaning the grease off of the chainguard. I think that this was probably the dirtiest, greasiest 1939 chainguard in the country.
Wednesday, February 18, 2009
panhead rocker block tool
Here is a pic of the new tool I made, the ground plate has four 5/16-20 holes tapped into the ground steel plate. I can torque these down to oem specs, so that they distort the same as when they are bolted to the head. It is kind of the same principal as torque plates. I would like to get some 7/8 grips for the handles. Then I can make motor noises while they are being honed.
Tuesday, February 17, 2009
Period fishtail
Taillight/centerstand clip/ license plate bracket hole layout
The owner of this bike had one of his friends replace the center section of the fender with new metal. It was an ok repair and is not noticeable once the fender is painted, but the holes for the tail light are missing.
Monday, February 16, 2009
1936 to 1939 spark plug wire clip
Sunday, February 15, 2009
1946 AGT 80% done
A moment of silence for the departed
Mar from Japan
The effect that 1936 Harleys have had on my education
Here is my 36, I dropped out of college to restore this bike, the fact that I couldn't sit still or stand college also helped me feel better about getting out of that place. I assembled this bike in three and a half hours with my dad and friend David Monohan at a tech seminar in Davenport a couple of years ago.
Here I am at the ripe age of 19 with John's freshly finished el, I never got to ride this bike, which is a bummer, I have already made up for the lack of miles on this one, by riding my 36. Notice the blue gloves, this reinforces the pedestal statement from below.
This is the bike that I put off college to restore. The first 36 that I restored with my dad. I remember how great it made me feel to be able to be trusted with the work on this bike. I have done a couple since this one, and am working on a couple more, but the first one is kind of like your first girlfriend, you put it on a pedestal.
Saturday, February 14, 2009
re tubed 36 frame
The tubes are spliced underneath the floorboard tab, A hollow sleeve connects the original frame tube with the new one it is held in place by four .375 plug welds and the seam is welded. All welds are ground filed and sanded smooth.
The original downtube was cracked right at the neck forging, so I cut it off smooth, and drilled out the original tube. I found some 1.125 d.o.m. tubing and cut it at the proper angle. I had to drill the id of the 1.125 tubing out so that I could fit the 1" tubing inside of tit. All of the shiny areas are from plug welds being welded then ground smooth. I have to retecture the neck casting, then braze the joints for the right visual effect.
Frame is together in this pic, sidecar loops need to be welded and brazed on still.
This is a frame that I had to change some tubes on, and weld some brackets onto. It was a fun project, kind of challenging, but fun. Notice how the toolbox mount isn't welded the entire length, the slash cut tubes, and the 760 number on the footboard tab. I plug welded the tubes in the neck, and the frame tubes into the 1.125 tubes, the frame is straight and structurally sound in pics, but had to be restraightened after all of the brazing.
First Post
I am looking forward to reading through this site in a couple of years, and checking out the posts relating to bikes that we are building, parts we are making and trips that we are going on!!
Subscribe to:
Posts (Atom)